New Directions in Baitfish Construction
By Andrew Chicone
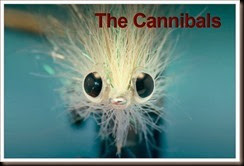
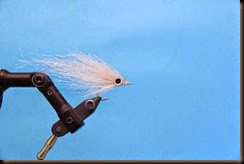
The Cannibal series of flies are 3 to 5 inch translucent imitations meant to emulate small baitfish that dart in and out of the shallow surf. Three different variations, designed for specific conditions, have evolved over time – The Sanibel (clear water), The Captiva (green/turquoise conditions), and The Caloosahatchee (stained or brackish water). Each are tied in a manner that is comparable to Enrico Puglisi's Peanut Butter Bunker or Jonny King's Kinky Muddler. The sparse, yet full body appearance, proper trimming, and careful color mix produces a very realistic profile that is a dead ringer for baitfish.
The three variations in the Cannibal series - The Sanibel for clear water, The Captiva for green/turquoise conditions, and The Caloosahatchee for stained or brackish water.
The flies consist primarily of Saltwater Yak Hair. While occasionally difficult to find, this material has a lot going for it – length, translucence, non-absorption of water, wiry texture, durability, and its ability to become supple when wet.
The key to getting consistent uniformity is to count out fibers you are going to use. This may sound a bit extreme, but if you try to work with too much it becomes very difficult to manipulate and tie down, leaving large bumps on the hook shank. Counting out the fibers not only insures that you don’t have some flies tied heavy and some sparse, but assures that you will end up with the right color blend.
For the vast majority of my baitfish patterns, the ratio of color to white is about 25/75. In order to tie the materials in smoothly without bunches and gaps, the colored materials need to be blended with the white. If you were to cut a baitfish into four lengthwise pieces the ratio of color to white is about the same.
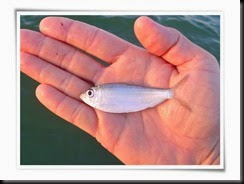
A typical baitfish that the Cannibal series imitates
I start with a base color - white or a cream color, which will end up being 70% or more of the fly. I then select two to three accent colors. These colors are typically found on the back or sides of the baitfish. If you are looking at a baitfish or a picture of bait and you squint your eyes slightly, you will lose focus on the detail of the fish, and only be able to see colors. That is how I like to think about what accent colors to choose. Whatever color I see the most of first, for that split second, is what my first accent color is. It is usually a light shade of tan, gray, or blue green. Considering the color of the water the pattern will be fished in helps to narrow it down. The second accent color is usually the darkest color found on the highest part of the baitfish’s back; blue, black, dark green or other glimpses of color found throughout the baitfish. The colors blend naturally from light to dark, from belly to back, camouflaging the fish from predators above and below.
Captiva Cannibal Material List
For Green/Turquoise Water
Hook 2/0 Gamakatsu SC - 15
Thread 4 lb. Mono
Eyes 8mm Clear Doll Eyes with Post
Belly
2 - 80 strand bundles of White Saltwater Yak Hair
Pearl Wing N' Flash
Back
50 Strands of White Saltwater Yak Hair
15 Strands of Gray Saltwater Yak Hair
10 Strands of Tan Saltwater Yak Hair
5 Strands of Turquoise Saltwater Yak Hair
Silver Wing N' Flash
●●●
The next step is to measure the quantities exactly so you can reproduce the blend if you run out of materials half way through, or simply want to create a number of uniform flies. I do not blend in my flash. I start by counting out strands and creating a series of piles for each of my shades.
Base layer: 80 strands of white Yak Hair
Accent Layer: 50 strands of white, 20 strands of the light color and 20 strands of the darker color.
As a rule of thumb I never go over 30 strands of color. In this particular case I’ve got an 80/20 mix of white to color.
You’ll note that in each of these patterns I’m using a 2/0 Gamakatsu hook. There are two reasons. First, the strength and design of this particular hook is very appealing, and second, its weight moves the fly down through the water column quickly.
Click through the slideshow to see how to tie the Sanibel Cannibal
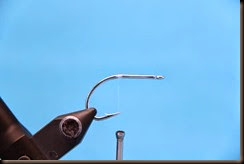
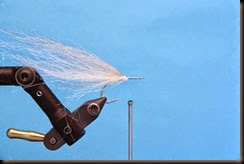
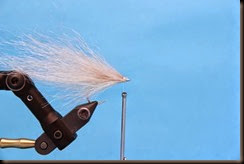
Start your mono thread at the point of the hook, 8-10 wraps is enough to secure it.
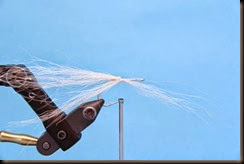
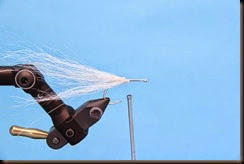
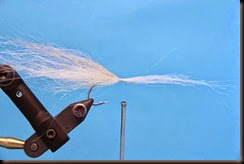
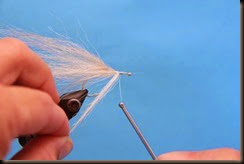
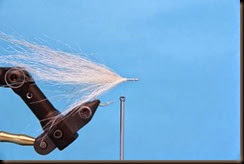
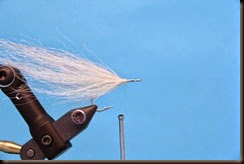
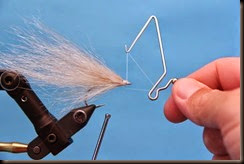
Tie in a few strands of Wing N' Flash, make sure it sticks out 4-5" past the bend of the hook. Advance your mono in front of all of your previous wraps.
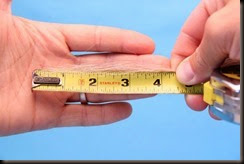
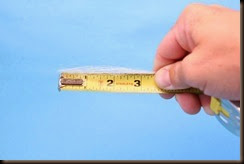
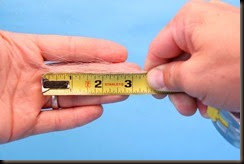
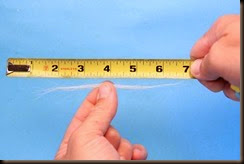
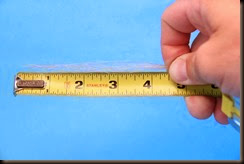
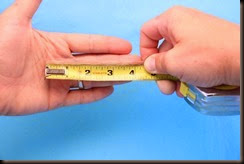
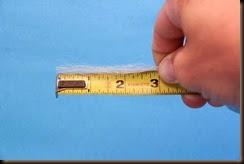
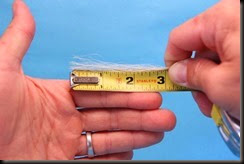
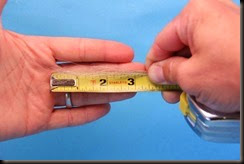
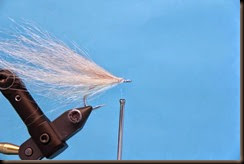
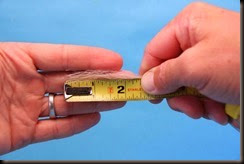
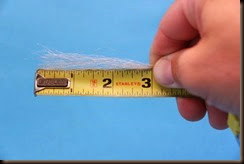
Cut a 4 1/2" piece of the white (belly color) material. I like to measure it using the first line on my palm, so all my flies are a more uniform length and shape.
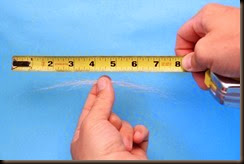
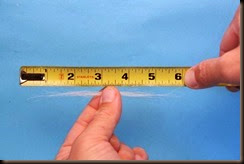
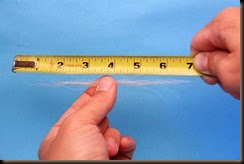
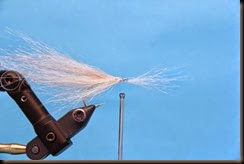
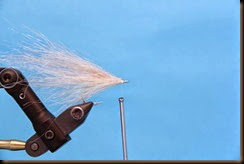
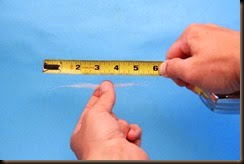
Taper each of the ends until it is between 7 1/2" to 8" in length.
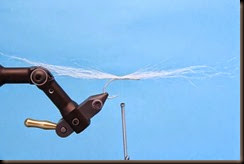
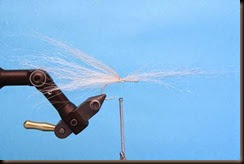
Tie in the tapered piece at the middle with eight turns, wrapping backward.
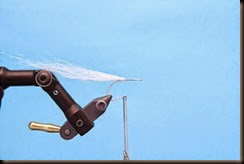
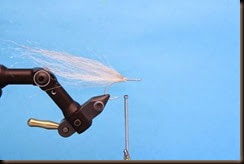
Fold back the forward facing half, and tie it down on top of the rear facing half. Secure by wrapping forward with eight wraps. I do this to position my mono for tying down the folded back half of the material, so I do not have to make a big jump with the mono over the hook bend.
Cut another piece of white saltwater Yak hair to approximately 3 1/2" long.
Taper both ends until it reaches 6 1/2" - 7" in length.
On the side of the hook closest to you, tie in the piece below the other materials and angled slightly downward. Secure with eight turns of the mono, stacking your wraps behind the previous wraps and pushing them forward.
Fold the forward facing half under the hook shank and back on top of itself. Secure it with eight forward wraps on the far side of the hook. Both sides of the fly should be symmetrical. Laying the hair at the downward angle instead of straight back will start to build the profile of the fly.
Cut a 4 1/2" piece from the color blended bundle.
Taper each of the ends until it is between 7 1/2" and 8".
Tie in the tapered piece on top of the hook shank and in front of the other materials at its middle point. Secure the bundle with eight turns, wrapping backwards.
Fold back the forward facing half, and tie it down on top of the rear facing half. Secure by wrapping forward with eight wraps.
On the underside of the hook shank, in front of the previously applied materials, add a pinch of Pearl Wing N' Flash. It does not need to be longer than 1-2" because this area will be trimmed after the fly is complete.
Next cut a 3" section of the White Yak hair and divide it into two bundles, one for each side of the hook.
Taper each piece until it is roughly 6".
Tie in the first piece on the near side of the hook so that it is slightly longer toward the tail of the fly. This piece is used to fill the material gap and hide exposed hook.
Fold the forward facing half of the bundle back on itself and angle it in a downward direction to cover the gap of the hook.
Repeat on the other side of the hook.
This is where you should be.
Cut another piece of color blended Yak hair, this one 3 1/2" long.
Taper both ends until it reaches 6 1/2" to 7".
On the top of the hook in front of the other materials, tie in the section at its middle, securing it with eight turns, stacking your wraps behind the previous wraps and pushing them forward.
Fold the forward facing half back, but this time instead of securing it directly on top of itself, position the material in a V shape, to create shoulders, or width. Each half of the back colored material should be angling slightly wider than the first tail piece.
Add another 1"-2" pinch of Pearl Wing N' Flash to the belly of the fly and advance your mono slightly.
Cut a 2 1/2" piece of white Yak hair and taper is slightly.
Tie it in on the underside of the fly so that the forward facing half is slightly shorter.
Fold the forward facing half back directly onto itself and secure it with eight turns. Turn the fly over in the vise and user your thumb nail to disperse the material evenly around the bottom and sides of the hook. This will help cover up any spots where the hook is exposed.
Cut a 3" section of the color blended Yak hair.
Taper the clump to 6".
Apply this piece in the same V fashion as the previously applied back piece.
Whip finish 2-3 times and coat the nose of the fly with UV Acrylic.
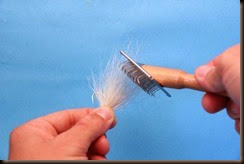
Take the fly out of the vise and with a dog brush, comb out any tangles and blend all the colors. Comb each side of the fly to create a wide, flat, leaf shape.
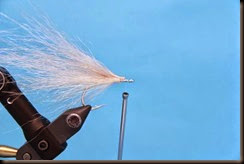
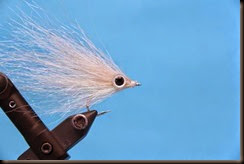
Put the fly back in the vise and glue on the dome eyes, slightly in front of the hook point. Make sure they are aligned when viewed from the top.
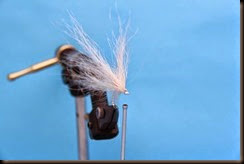
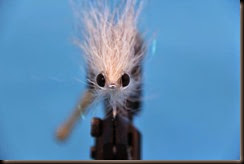
Turn the fly toward you and double check that the eyes are aligned from a forward facing view. This is very important because if the eyes are out of alignment, the fly will have a tendency to spin when stripped.
